
Okay, here’s my blog post about installing batten-mounted solid wood flooring, written in a casual, personal style:
So, I’ve been wanting to ditch the old carpet in my spare room for ages. It was, like, a magnet for dust and just looked…blah. I decided to go for solid wood flooring because, well, it looks amazing, right? And I figured, how hard could it be? (Spoiler: It’s a bit of a workout!). I chose to go with the batten/joist mounted install method, and did it.
Getting Started
First things first, I cleared out the entire room. Everything. Furniture, the old carpet, the underlay – the works. This gave me a nice, clean subfloor to start with. I have a concrete subfloor, so I checked to make sure it was level. You don’t want any dips or bumps, ’cause that’ll mess with your finished floor. I found a few uneven spots, so I grabbed some self-leveling compound and fixed those up. Just poured it on, smoothed it out, and let it dry according to the instructions.
The Battens
Next up, the battens. These are basically just strips of wood that you attach to the subfloor, and then you nail the floorboards to them. I used treated lumber for my battens, just in case of any moisture issues down the line. I spaced them out according to the manufacturer’s recommendations for my flooring – super important to get this right! I used construction adhesive and concrete screws to secure the battens. Making sure they were all level with each other was a bit fiddly, but a long spirit level and some shims helped me get it sorted.
Laying the Floorboards
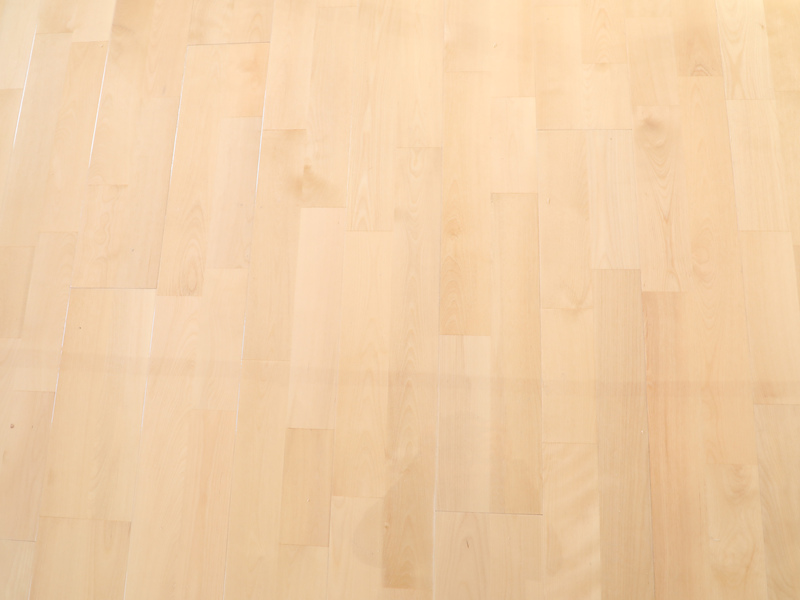
Now for the fun part (and the backache!). I started laying the first row of floorboards along the longest wall, leaving a small expansion gap between the boards and the wall. This is crucial because wood expands and contracts with changes in humidity. I used a spacer to make sure the gap was consistent all the way around.
I face-nailed the first row, meaning I drove the nails straight down through the top of the boards. For the rest of the rows, I used a flooring nailer. This thing is a lifesaver! It drives the nails in at an angle through the tongue of the board, so they’re hidden. Much cleaner look. I rented the nailer from a local tool hire place.
As I went, I made sure to stagger the joints between the boards. This gives the floor more strength and just looks better. It’s like bricklaying – you don’t want all the seams to line up. I used a pull bar and a tapping block to get the boards nice and tight together. Some of them were a bit stubborn, but with some gentle persuasion (and maybe a few not-so-gentle taps), they all went into place.
Finishing Up
Once all the boards were down, I installed the baseboards (skirting boards) to cover the expansion gap. I mitered the corners for a neat finish. Finally, I gave the floor a good sweep and a vacuum to get rid of all the sawdust.
- clear room and level floor
- make sure the batten were level
- install floorboards and baseboards
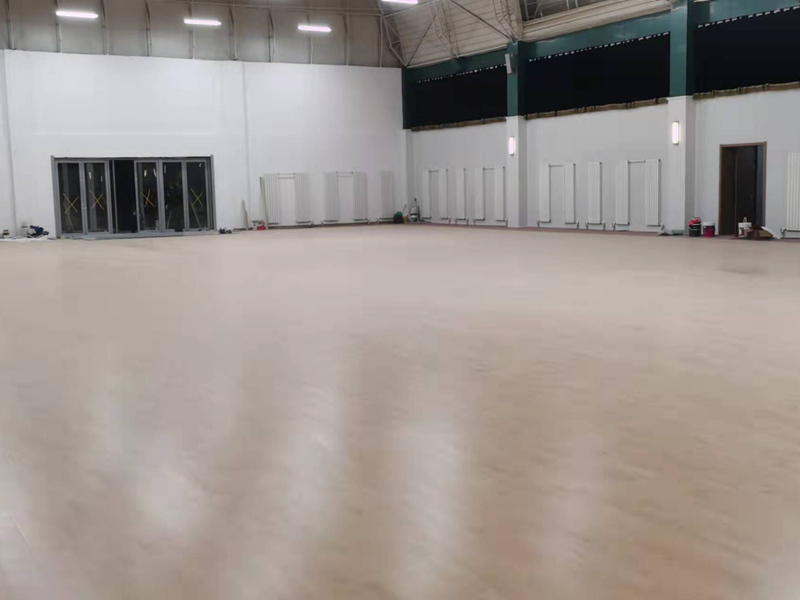
And that’s it! It was definitely a lot of work, but seeing the finished floor makes it all worthwhile. It looks so much better than the old carpet, and it feels great underfoot. If you’re thinking of doing this yourself, I’d say go for it – just be prepared for some hard graft!


