
Okay, here’s my blog post about assembling wooden flooring for a keel volleyball engineer:
Man, today was a doozy! My buddy, who’s a structural engineer specializing in, get this, keel volleyball courts, called me up. Apparently, he decided to DIY the wooden flooring in his new home gym. He’s brilliant with the big stuff, like making sure a whole stadium doesn’t collapse, but kinda clueless about home improvement. That’s where I came in.
First thing, we unloaded a mountain of wooden planks from his truck. Seriously, it looked like enough wood to build a small ark. He’d already laid down some underlayment, which was a good start. It’s this foamy stuff that helps cushion the floor and reduce noise.

Getting Started
- Checked the instructions: Yeah, even I, Mr. “I can fix anything,” had to glance at them. Turns out, each plank had a specific tongue and groove system.
- Sorted planks: Some were slightly warped, or had minor imperfections. That is * set those aside for cuts near the walls, where they wouldn’t be as noticeable.
We started along the longest wall, making sure to leave a small gap for expansion. Wood expands and contracts with temperature changes, you know? We learned that the hard way once, years ago, when a floor buckled like a rollercoaster. Not fun.
The first few rows were the trickiest. We used a rubber mallet and a tapping block to gently coax the planks together. You gotta be careful not to damage the edges. It’s like a giant jigsaw puzzle, except if you mess up a piece, you can’t just grab another one from the box.
The Process
Once we got the hang of it, things moved pretty smoothly. We staggered the joints, making sure the end seams of each row were at least a few inches apart. This makes the floor stronger and looks better, too.
My buddy, the engineer, kept wanting to overthink it. He was pulling out his laser level and measuring everything to the millimeter. I finally had to tell him, “Dude, it’s a floor, not a spaceship! A little imperfection is okay.”
- Cut planks: We used a circular saw for the long cuts and a jigsaw for the tricky bits around doorways and pipes. Always measure twice, cut once, as they say.
- Nailed it: We opted for finishing nails, driven in at an angle through the tongues, so they’d be hidden.
Finishing Up
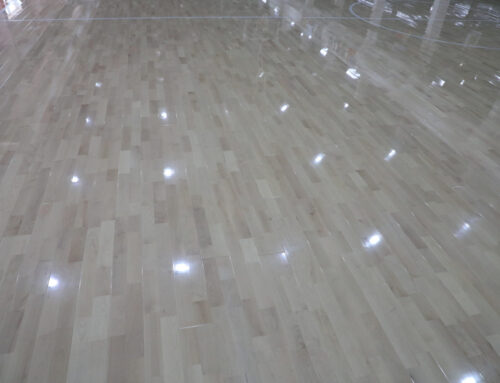
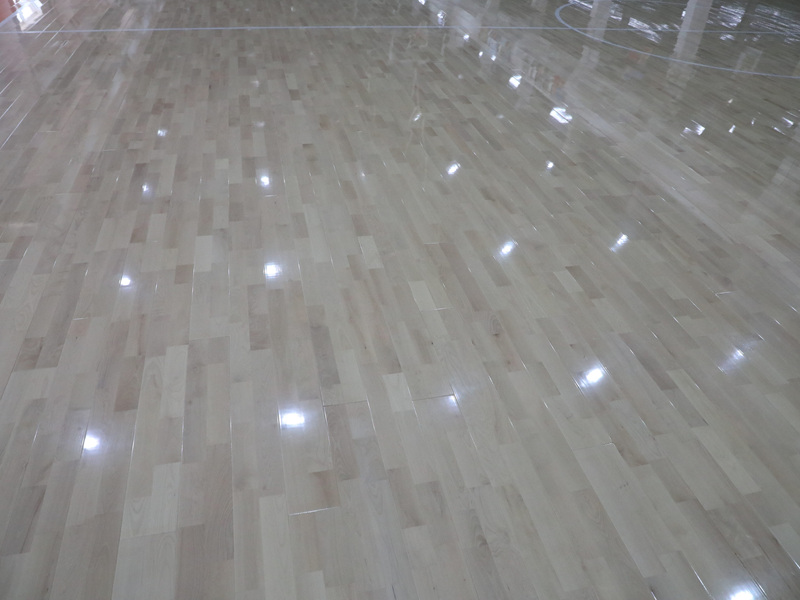
By the end of the day, we were both exhausted, but the floor looked amazing. All that sweating and hammering paid off. My engineer buddy was super impressed, and I gotta admit, I felt pretty proud too.
We cleaned up the mess, admired our handiwork, and cracked open a couple of cold ones. Another DIY project successfully completed! Now, he’s got a sweet home gym with a floor that’s probably way over-engineered, but hey, that’s his style.


