
Okay, here’s my blog post about installing batten volleyball maple wooden flooring, written from my personal experience, in a casual and conversational tone, using basic HTML tags:
Alright, folks, let’s dive into this project I tackled – putting in some new maple flooring for a volleyball court. It was a bit of a beast, but totally worth it in the end. I’m no pro, just a DIY-er who likes a good challenge, so don’t expect any super technical jargon here. This is just how I did it, bumps and all.
Getting Started
First things first, I had to clear the area. This wasn’t just picking up a few toys; we’re talking about an entire room that was basically being used as storage. Boxes, old furniture, you name it – it all had to go. Took a good day just to get the space empty and swept clean.
The Subfloor Situation
Next up was checking out the existing subfloor. Luckily, it was concrete, and mostly level. I did find a few dips and humps, so I grabbed some self-leveling compound and went to town. The key here is to let that stuff fully dry and cure before moving on.
Laying Down the Battens
Now for the battens! These are basically wooden strips that create a framework for the actual flooring. I used pressure-treated lumber because, you know, moisture. I spaced them out according to the flooring manufacturer’s instructions – gotta follow those, or you’re asking for trouble. I screwed them into the concrete, making sure everything was nice and secure. It’s important to keep every batten lined up straight and level, take some time to get it right.
Insulation Time (Optional)
Since this was going to be a volleyball court, I figured a little extra cushioning wouldn’t hurt. I added some rigid foam insulation between the battens. This is totally optional, but it does help with sound dampening and, well, makes the floor feel a bit nicer underfoot.
The Flooring
Installing the maple flooring start! I rent a flooring nailer, and I am ready to nail every single piece to the battens, one by one. Interlock them together according to the tongues and grooves.
Finishing Touches
Once all the flooring was down, it was time for sanding. I rented a big floor sander – and let me tell you, that thing is a workout! I started with a coarse grit sandpaper and gradually worked my way to finer grits. The goal is to get a super smooth, even surface.
After sanding, I vacuumed like crazy to get rid of all the dust. Then came the sealing. I used a polyurethane sealant specifically designed for sports floors. I applied several coats, letting each one dry completely before adding the next. This part is crucial for durability and that nice, glossy finish.
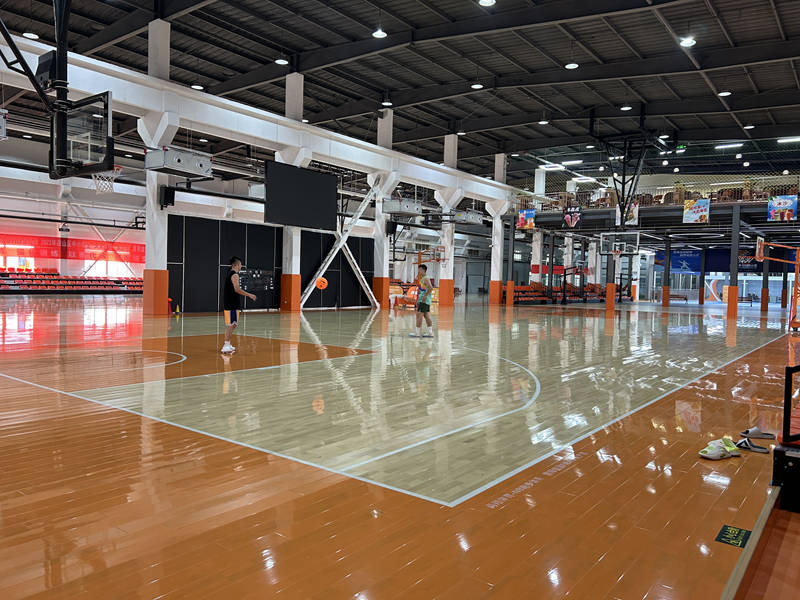
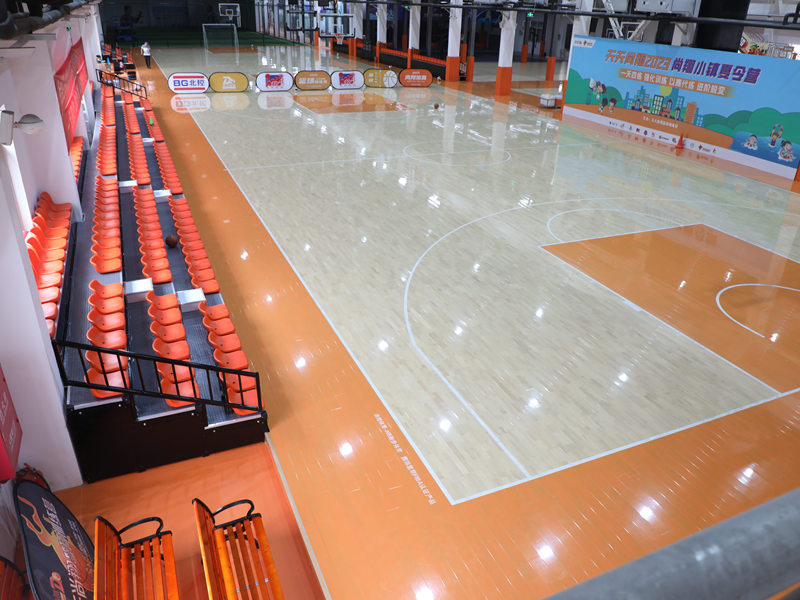
The Final Result
And that’s it! It was a lot of work, no doubt about it. But seeing that finished, gleaming maple floor? Totally satisfying. The volleyball players are loving it, and I’m pretty darn proud of myself. Not bad for a weekend warrior, eh?
If you are gonna do the same thing, just do it! Follow the instructions and you will see it is not that hard, at all!


