
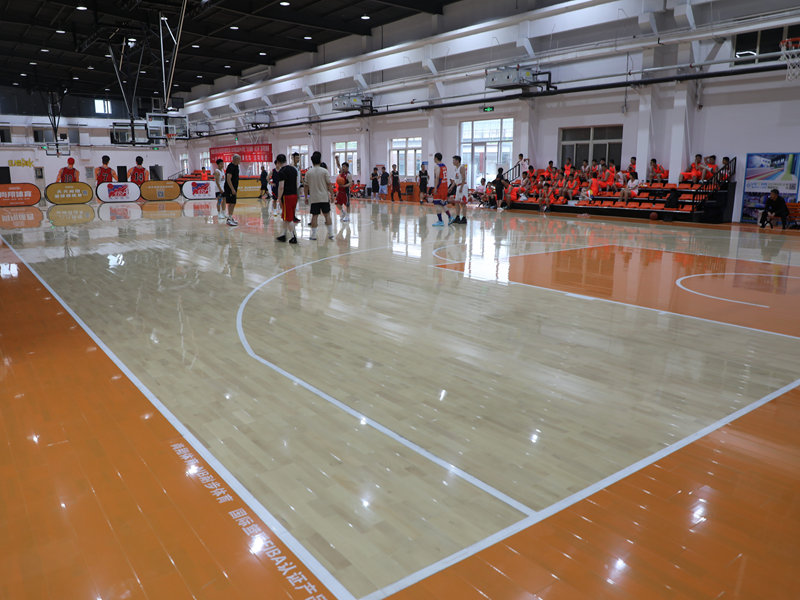
Today, I decided to get my hands dirty and install some “batten volleyball birch assembled wooden flooring.” I’ve been meaning to redo the flooring in my spare room for ages, and I finally took the plunge. Honestly, I was a little intimidated at first, but it turned out to be a pretty rewarding experience.

Getting Started
First things first, I cleared out the entire room. This involved moving furniture, taking down curtains, and basically getting everything out of the way. It was a bit of a workout, but a necessary first step. Then, I thoroughly cleaned the existing subfloor. I vacuumed it twice and even mopped it to make sure there was no dust or debris left behind. I wanted a nice, clean surface to work with.
Laying the Foundation
Next up, I rolled out the underlayment. I chose a foam underlayment because I wanted some extra cushioning and soundproofing. It was super easy to install – just unroll it and trim the edges with a utility knife. I made sure to overlap the seams a little and taped them down with some packing tape.
Putting the Pieces Together
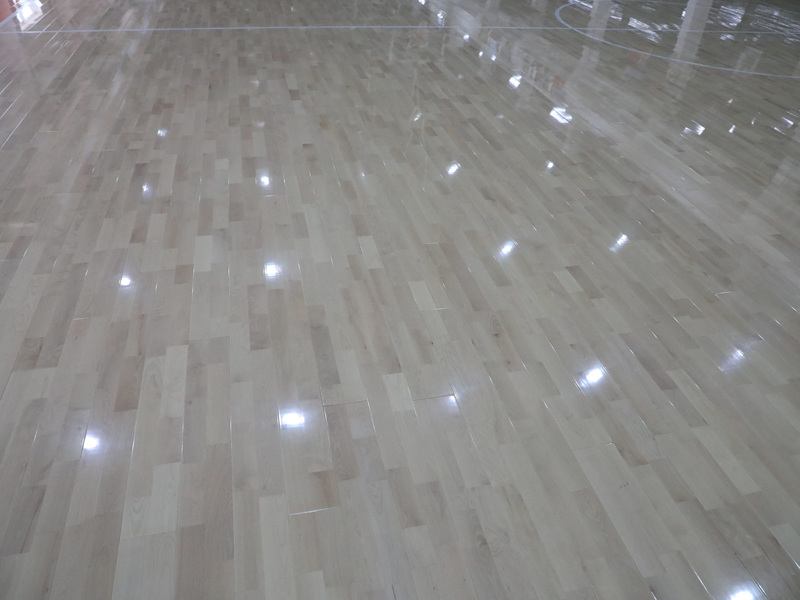
Now for the fun part – actually installing the flooring! I started in one corner of the room, carefully placing the first row of planks. I made sure the tongue side of the planks faced the wall, leaving a small expansion gap (about 1/4 inch) using some spacers I picked up at the hardware store.
- I clicked the planks together along their short edges, which was surprisingly satisfying. It’s like a giant puzzle!
- For the next row, I staggered the joints, making sure they didn’t line up with the joints in the previous row. This gives the floor more stability and a more natural look.
- When I reached the end of a row, I marked and use jig saw the last plank to fit, again remembering to leave that expansion gap.
- I continued this process, row by row, making sure each plank was securely connected to the others.
The Final Touches
Once all the planks were down, I removed the spacers and installed the baseboards. I just nailed them to the wall, covering up those expansion gaps and giving the room a finished look. And that’s it!
It took me most of the day, and I’m definitely feeling it in my muscles, but it was totally worth it. The room looks completely transformed, and I did it all myself! There’s something really satisfying about looking at a finished project and knowing you built it with your own two hands. Now, I just need to put all the furniture back. Maybe tomorrow, I’m beat!

