
Okay, here’s my blog post about assembling that wooden flooring:
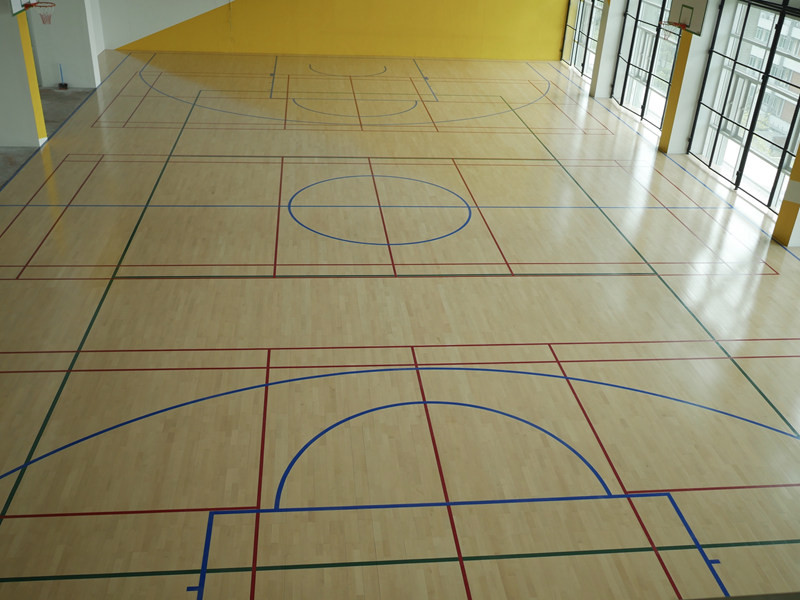
So, the other day I decided to tackle that pile of birch volleyball flooring I got my hands on. I’ve been meaning to get this project going for ages, you know, finally get that nice, warm wooden floor in my workshop. It’s that “batten” style, meaning it comes with these strips underneath that you gotta deal with. Here’s how it went down:
Getting Started
First things first, I cleared out the whole workshop. Everything! Tools, benches, the works. Gotta have a clean slate, right? Then I gave the concrete floor a good sweeping and even mopped it. You don’t want any dust or grit messing with your nice new floor.
The Underlayment
Next up, I rolled out some underlayment. It’s like this thin, foamy stuff. It’s supposed to help with sound and a little bit of cushioning. I taped the seams together with some packing tape. No fancy stuff needed.
Laying Out the Battens
These flooring pieces came with the battens already attached, which is both good and bad. Good because, less work! Bad because, you gotta make sure they line up right. I started in one corner, making sure to leave a little gap around the edges for expansion. Wood moves, you know?
Putting it Together
This part was kind of like a giant jigsaw puzzle. I slotted the pieces together, making sure the tongue-and-groove joints were nice and tight. Every so often, I’d give them a good whack with a rubber mallet to make sure they were really snug. Don’t use a regular hammer! You’ll dent the wood.
- Used a rubber mallet.
- Checked those tongue and groove.
- Made sure keep gap.
The Tricky Bits
Getting around doorways and corners was a pain. I had to measure and cut some of the pieces to fit. I used a jigsaw for this, and let me tell you, it wasn’t always pretty. But hey, it’s a workshop, not a ballroom, right?
Finishing Up
Once all the flooring was down, I installed some trim around the edges to cover up that expansion gap. I just nailed it in with some finishing nails. Then I gave the whole floor a good sweeping again to get rid of all the sawdust.
And that’s it! It took me a couple of days, working on and off, but it’s finally done. Now I’ve got a solid, good-looking wooden floor in my workshop. Feels good underfoot, and it’s way better than that cold concrete. Totally worth the effort!


