
Okay, here’s my blog post about setting up that batten dancing soft maple portable wooden flooring, told like I’m just chatting with a friend about it:
Alright, so I finally got around to putting together that portable dance floor I’ve been talking about. You know, the one with the soft maple and the battens? It turned out to be a bit more of a project than I initially thought, but hey, that’s DIY for you, right?
Getting Started
First things first, I cleared out the space. I mean, really cleared it out. Moved all the furniture, rolled up the rug, the whole nine yards. You need a good amount of room to work with this stuff, especially when you’re laying out those long wooden pieces.
Next, I unpacked everything. The flooring came in these long, surprisingly heavy boxes. I made sure I had all the pieces, checking against the parts list that came with it. Nothing worse than getting halfway through and realizing you’re missing something crucial.
The Batten System
The whole “portable” part of this floor relies on these battens. Basically, they’re like the support structure that goes underneath the pretty maple wood. I laid out the battens first, following the instructions on how to space them. It’s kind of like building a really simple, low-to-the-ground deck frame.
- Connect: the battens,some click together, some need a few screws. mine needed a simple connect.
- Double-check: I made sure everything was level. This is super important, or your dance floor will feel wonky.
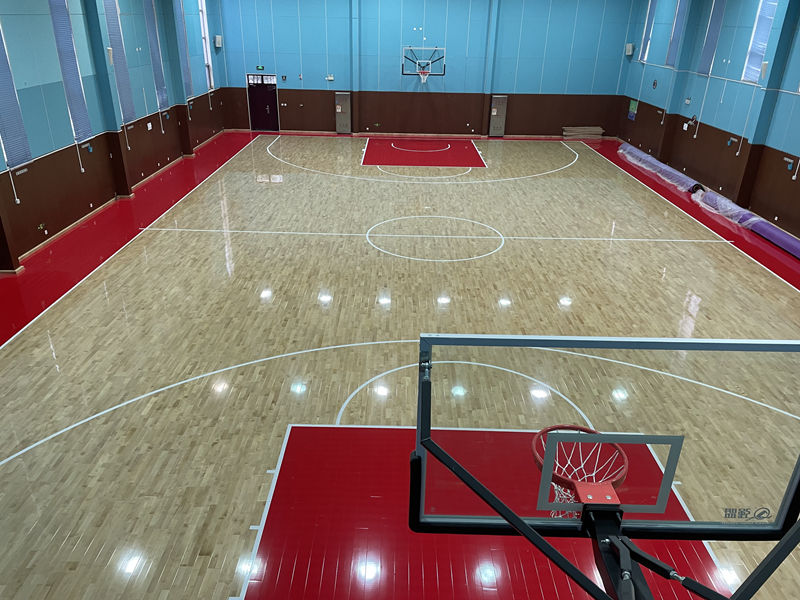
Laying the Maple
This was the satisfying part. I started placing the soft maple planks on top of the battens. They fit together pretty snugly, with a tongue-and-groove system. A few taps and fit it. I worked my way across the room, making sure each plank was securely attached to the battens below.
One thing I learned the hard way: don’t force anything! If a plank doesn’t seem to want to fit, don’t just hammer away at it. There’s probably a reason it’s not going in smoothly. I figured out that sometimes a little adjustment of the batten underneath was all it needed.
Finishing Touches
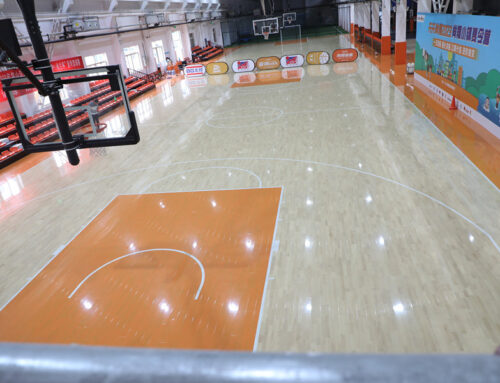
Once all the planks were down, I went around and checked for any loose spots or unevenness. You can use a floor level, but I checked by my foot。
I’m pretty happy with how it turned out! It feels solid, looks great, and it’s definitely going to make dancing a lot more enjoyable. Plus, the fact that I can take it apart and move it if I need to is a huge bonus.

