
Okay, so I’ve been wanting to redo the flooring in my spare room for ages. It had this awful, old carpet that just collected dust and looked terrible. I finally decided to take the plunge and install some batten dancing birch assembly wooden flooring. Let me tell you, it was a journey!
First, I ripped out that nasty old carpet. This was surprisingly satisfying, I have to admit. Underneath, I found some pretty uneven concrete. So, step two involved a whole lot of leveling compound. I poured it on, spread it around with a trowel, and then waited (im)patiently for it to dry. This part took longer than I thought it would, honestly.
Once the floor was level, it was time for the battens. I measured the room carefully, then cut the wooden battens to size using a hand saw. I’m not gonna lie, my arms got a good workout! I laid the battens out, making sure they were evenly spaced, and then screwed them down into the concrete. I used a power drill for this, which definitely saved my wrists.
The Tricky Part: The Birch Assembly
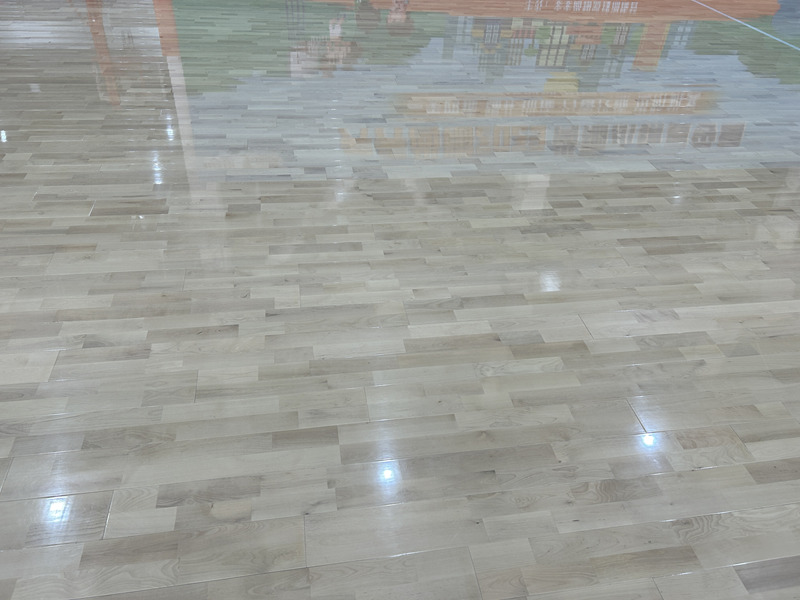
Next up was the actual wooden flooring. It’s this “assembly” type, meaning the pieces click together. Sounds easy, right? Well, it was a bit fiddly at first. I started in one corner, carefully clicking the first few pieces together. It took a bit of wiggling and gentle persuasion, but I got the hang of it. I made sure to keep the little gaps for expansion, as I watched some vidoes before doing this, other wise it will be another big trouble.
- Measuring and cutting were key here. Especially around doorways and those awkward corners.
- I used a rubber mallet to tap the pieces together securely, being careful not to damage the edges.
- Progress was slow and steady. It’s definitely a job that requires patience. I found that my knees pain a lot, so I took a break and drank some water.
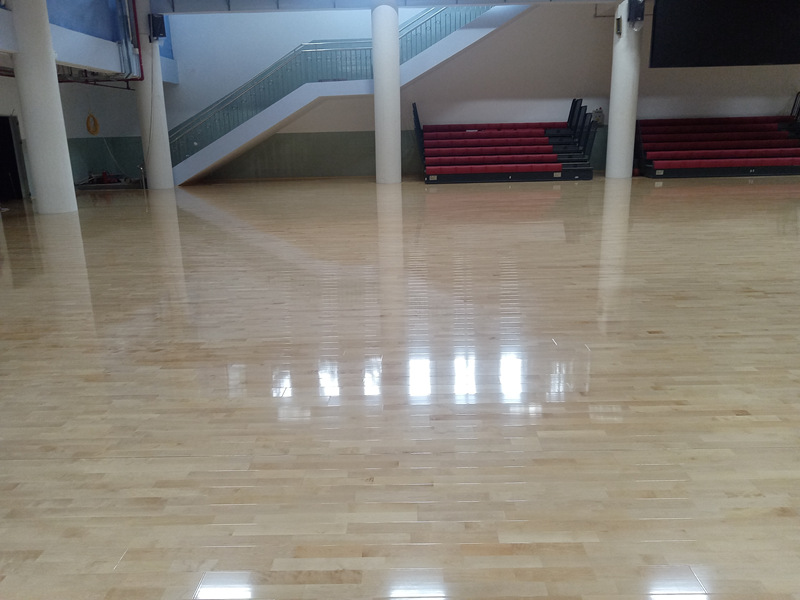
Finally, after what felt like forever, I laid the last piece. I stood back and admired my handiwork. It looked SO much better than the old carpet! I then added some skirting boards around the edges to finish it off. I nailed those in, filled the holes, and painted them to match the walls.
All in all, I’m pretty proud of myself. It was hard work, but totally worth it. The room looks completely transformed, and it feels so much cleaner and brighter. If you’re thinking of doing something similar, I’d say go for it! Just be prepared for some sore muscles and a bit of a learning curve.


