
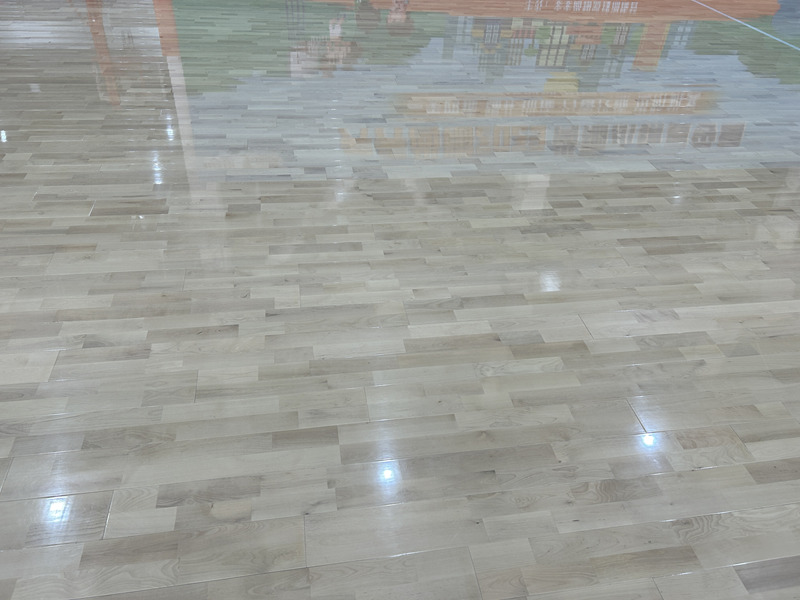
Alright, so I’ve been wanting to redo my floors for, like, forever. And I finally decided to tackle it! I went with this “batten dancing beech wooden flooring” thing, mostly because it looked cool and I thought it would be a fun challenge. I’m not gonna lie, it sounded a bit fancy, but really it just means the wood planks are laid out in a specific pattern.
First, I had to rip out the old, nasty carpet. That was a workout in itself! Dust, staples, grossness… you name it, it was under there. It took me a good chunk of a day just to get the room completely cleared and ready for the new floor.
Prepping the Subfloor
Next up was making sure the subfloor was perfect. I mean, really perfect. Any bumps, dips, or unevenness would show through the new floor, and nobody wants a wonky floor. I spent hours crawling around with a level, filling in low spots with leveling compound and sanding down any high spots. It was tedious, but totally worth it in the end.
Laying the Battens
This “batten” part is basically just laying down strips of wood that act as a base for the actual floorboards. So first, I have to install the battens. The wood were placed perpendicular to the direction in which I planned to lay the floor.
- I measured the room, like, a million times to figure out the spacing for the battens. There’s some math involved, but honestly, I mostly just eyeballed it and hoped for the best.
- I used construction adhesive and screws to secure the battens to the subfloor. I made sure they were super secure because they’re the foundation for the whole thing.
Installing the Beech Flooring
Then came the fun part – actually laying down the beech flooring! I rented a flooring nailer, which made the job way easier. It’s basically a specialized tool that drives nails at the perfect angle to secure the floorboards to the battens.
- I started in one corner of the room and worked my way across, making sure each board was tightly fitted against the previous one.
- I used a tapping block and a rubber mallet to gently nudge the boards into place without damaging them.
- There was a lot of cutting involved, especially around doorways and corners. I got pretty good at using a jigsaw by the end of it!
Finishing Touches
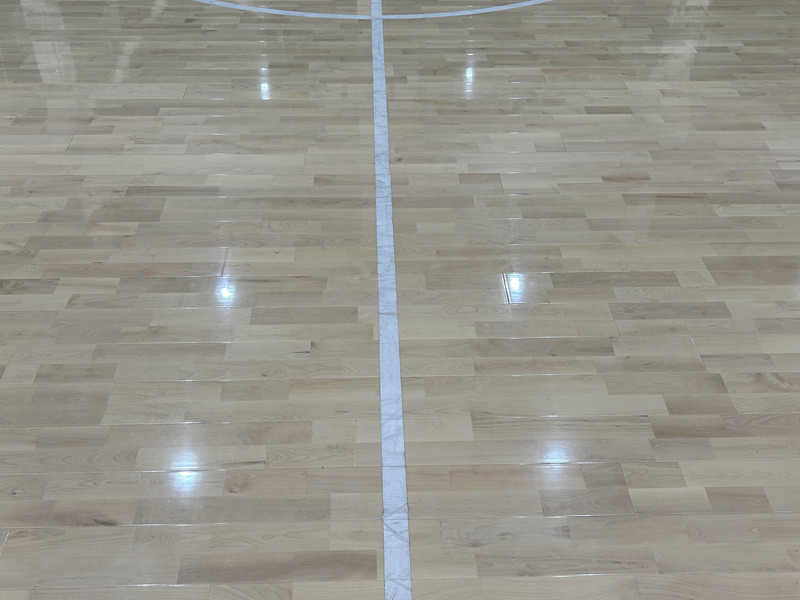
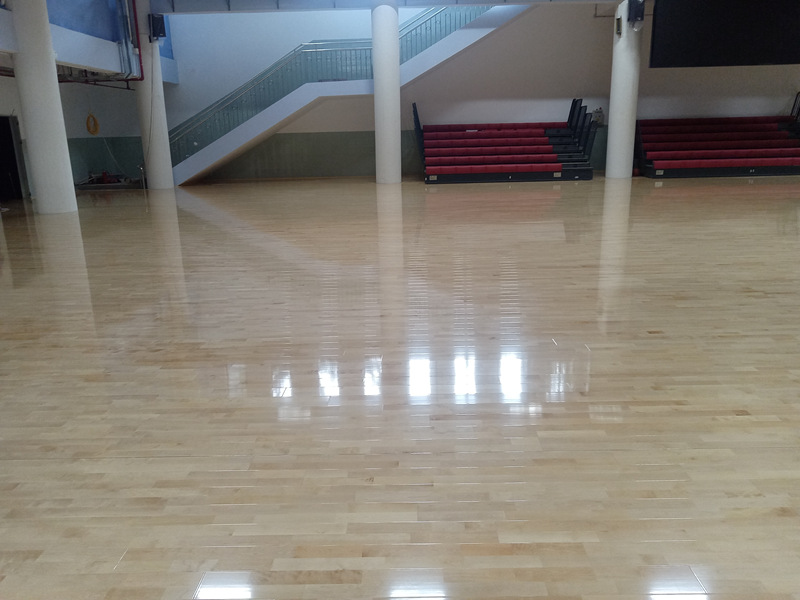
Once all the flooring was down, I filled in any nail holes with wood putty and gave the whole floor a good sanding to make it smooth and even. Then, I applied a few coats of polyurethane sealant to protect the wood and give it a nice, shiny finish.
Honestly, it was a lot of work, but I’m so proud of how it turned out! My new “batten dancing beech wooden floor” looks amazing, and I did it all myself. It was a serious learning experience, and I definitely feel like I leveled up my DIY skills. Plus, I saved a ton of money by not hiring a professional!


