
Okay, here’s my blog post about my experience assembling “batten dancing beech” wooden flooring:
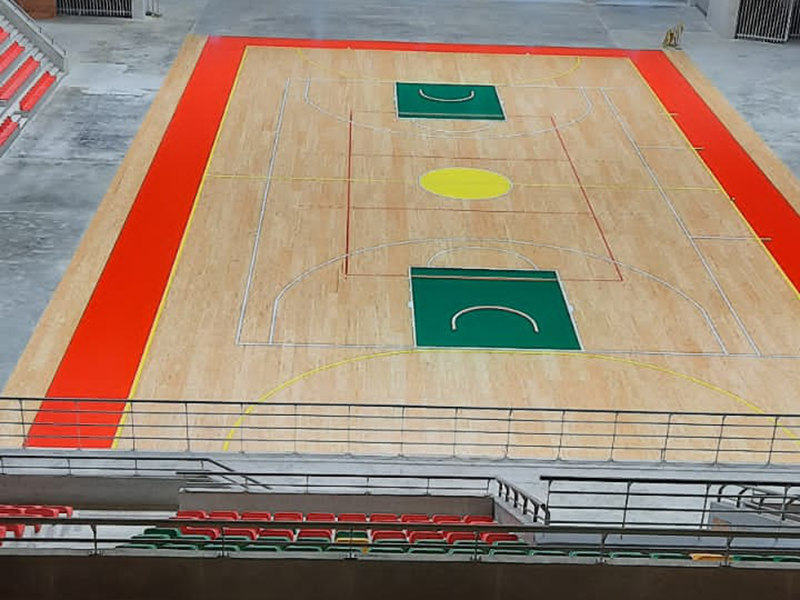
So, I finally decided to tackle that spare room and give it a proper floor. I’d been eyeing this “batten dancing beech” assembled wooden flooring for a while. Sounded fancy, looked pretty, and I figured, “How hard could it be?” Famous last words, right?

Getting Started
First, I cleared out the room completely. Everything out, even that weird rug my aunt gave me. Then I gave the concrete subfloor a good sweep and vacuum. You don’t want any little bits of grit messing up your nice, smooth surface.
Next up, I rolled out the underlayment. This stuff is like a thin, foamy layer that goes between the concrete and the wood. It helps with sound insulation and a bit of cushioning. Seemed straightforward enough – just roll it out, cut it to size with a utility knife, and tape the seams together.
The Real Work Begins…
Then came the actual flooring. The “batten” part means there are these wooden strips (battens) that you lay down first, perpendicular to the direction you want the floorboards to run. These create a framework and give the floorboards something to click into.
I started by laying out the battens along one wall, making sure they were evenly spaced. This is where a good measuring tape and a bit of patience come in handy. It took some figuring to keep everything aligned.
- Measure, measure, measure! Seriously, get the spacing right, or you’ll be in trouble later.
- Use spacers. Little plastic things that help you keep a consistent gap between the battens and the wall.
Once the battens were down, it was time for the floorboards. These “dancing beech” boards had a click-lock system, which sounded easy in theory. You know, just “click” them together, like giant puzzle pieces.
It wasn’t quite that simple. It took some wiggling, some tapping with a rubber mallet, and a few choice words to get them to snap together properly. Some went in easier than others. Some, and a few, i had to try over a few time to get it.
Finishing Touches
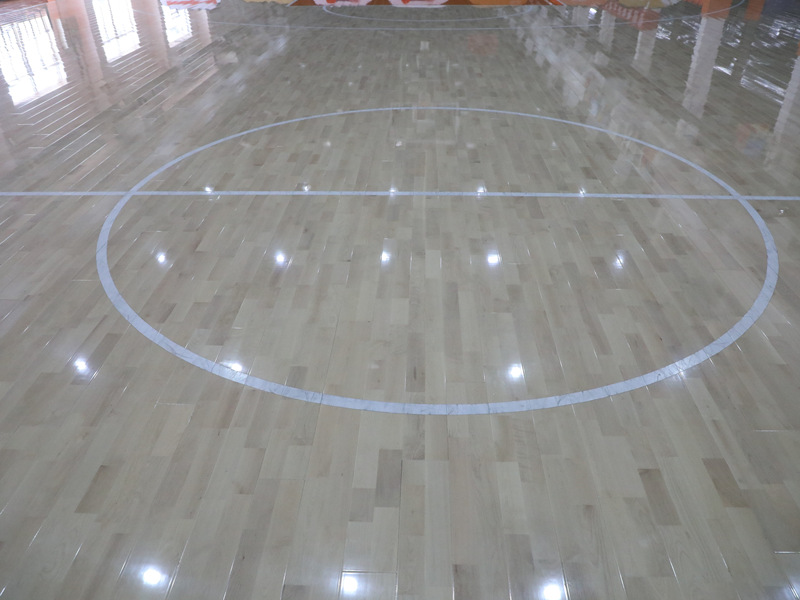
I worked my way across the room, row by row, clicking and tapping. It was slow going, but satisfying to see the floor taking shape. By the end, my knees were aching, my back was sore, but I had a floor!
Finally, I installed the baseboards around the edges of the room to hide the expansion gaps and give it a finished look. A bit of caulk to fill in any gaps, and I was done.
All in all, not a simple job. It demanded time. It demanded patience. But in the end, I got it done!


