
Okay, so I’ve been wanting to redo the flooring in my spare room for ages. It was this old, nasty carpet that just collected dust and looked terrible. I finally decided to take the plunge and go with wooden flooring. I did some digging and found this “batten dancing beech assembly” style that looked pretty cool and, supposedly, was DIY-friendly. Let me tell you, it was a journey!
Prepping the Space
First things first, I ripped out that ancient carpet. That was a workout in itself! Underneath, I found some pretty uneven concrete. This was a problem because the wooden flooring needs a nice, flat surface.
So, I got some self-leveling compound and went to town. Pouring it was kind of messy, but watching it spread out and smooth itself was strangely satisfying. I let that dry for a full day, just to be sure.
Getting the Battens Down
Next up were the battens. These are basically just strips of wood that you lay down to create a framework for the flooring. I measured the room like a hundred times, then cut the battens to size with my trusty saw.
Then, used screws to fix these battens onto the floor. Spacing them evenly was key, so I used a spacer block – just a small piece of wood – to make sure they were all the same distance apart.
Laying the Beech Flooring
Now for the main event! I unpacked the beech flooring planks. They were gorgeous, all smooth and ready to go. This “dancing” part of the name, I figured, was because the planks kind of interlock with each other, no glue or nails needed.
- I started in one corner, carefully slotting the first plank into place against the battens.
- Then, I took the next plank and angled it into the first one, kind of like a puzzle.
- With a gentle tap from a rubber mallet, it clicked into place. It was surprisingly easy!
I kept going like this, row by row, making sure each plank was snug against the others. When I got to the edges of the room, I had to cut some planks to fit. That was a bit tricky, but I managed it with my saw and a lot of patience. There have been a few times I felt my cuts were inaccurate. I took my time here to be as accurate as possible.
The Final Touches
Once all the flooring was down, it looked amazing! But there were still a few gaps around the edges, where the flooring met the walls.
To finish it off, I installed some beading – thin strips of wood that cover those gaps and give it a nice, clean look. I used a nail gun for this, which was super satisfying.
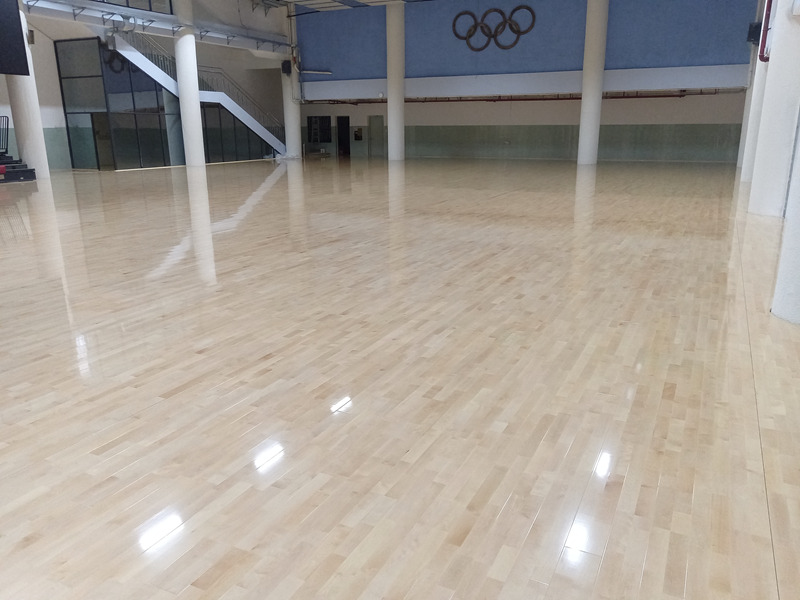
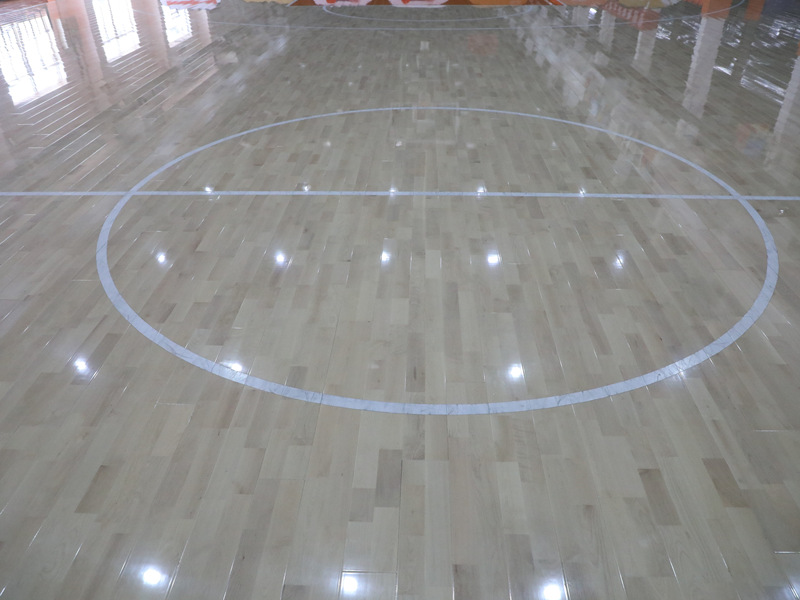
I cleaned the floor and then put a vanish on it for extra shine. It turned out well!
And that’s it! My new “batten dancing beech assembly wooden flooring” is complete. It was definitely a challenge, but so worth it. The room looks completely transformed, and I did it all myself! Now, to put some stuff into the room.


