
Okay, here’s my attempt at writing a blog post in the style you described, focusing on the process of installing batten basketball hard maple assembling wooden flooring:
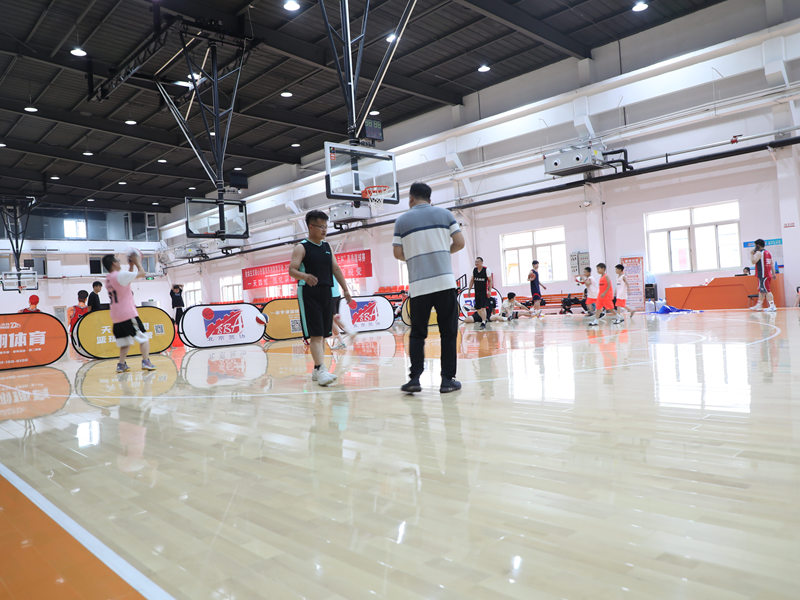
Alright, folks, let’s dive into this flooring project I tackled. It was a bit of a beast, but hey, who doesn’t love a good challenge, right? I decided to go with a hard maple floor for my indoor basketball court – you know, gotta have that classic look and feel.
Getting Started
First things first, I cleared out the entire space. Everything out, furniture, rugs, the whole nine yards. This gave me a blank canvas to work with, and trust me, you need that when you’re dealing with this much wood.
Next up, I inspected the subfloor like a hawk. Any dips, bumps, or unevenness? Gotta fix that! I used some leveling compound to smooth things out. A solid, level base is key, or your finished floor will be all wonky.
The Batten System
This wasn’t your typical nail-down flooring. I went with a batten system. So, I laid down these wooden battens, spacing them out according to the manufacturer’s instructions. These things are the backbone of the whole setup, providing support and airflow under the maple.
I secured the battens to the subfloor using concrete screws. Made sure they were nice and snug – no wiggling allowed! I also checked to see if every batten was level.
Laying the Maple
Now for the fun part – actually putting down the maple planks. These things were tongue-and-groove, so they fit together like puzzle pieces. I started along one wall, leaving a little expansion gap (important, wood expands and contracts!).
- Staggered the seams – you don’t want all the end joints lining up, looks amateur.
- Used a rubber mallet to tap the planks together. Gotta be gentle, but firm.
- Screwed the planks into the battens.
I just kept going, row by row, making sure everything was tight and aligned. It’s a bit of a workout, I’m not gonna lie. My knees were definitely feeling it by the end of the day.
Finishing Touches
Once all the maple was down, it was time for the finishing touches.
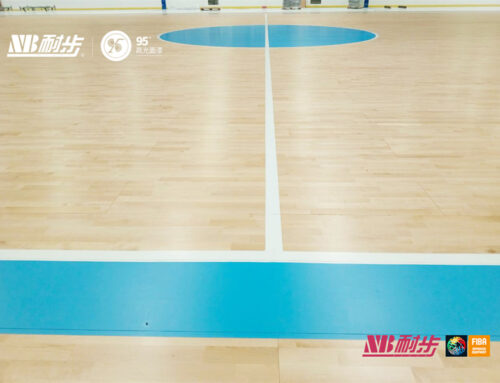
I sanded the entire floor to get it super smooth. Started with a coarse grit, then worked my way up to a fine grit. This took a while, but it’s worth it for that professional look.
Then I applied multiple coats of polyurethane finish using a roller. This stuff protects the wood and gives it that nice, glossy sheen. Gotta let each coat dry completely before adding the next.
And finally I got my hard maple assembling wooden flooring!
So, there you have it. My little flooring adventure. It was a lot of work, but seeing that finished product, man, it’s a good feeling. Plus, I saved a ton of money doing it myself. If you’re thinking about tackling a project like this, just be prepared for some sweat and maybe a few sore muscles. But it’s totally doable!


