
Okay, here’s my blog post about assembling a batten basketball engineer board wooden floor, written in a casual, personal style:
Alright, so I decided to put in a new wooden floor in my home gym. I went with this “batten basketball engineer board” stuff, figured it would be tough enough to handle some dropped weights and, you know, actual basketball.
Getting Started
First things first, I cleared out the room. Everything. Weights, benches, the old, sad-looking carpet – all gone. This gave me a nice, clean concrete subfloor to work with.
Next, I laid down a vapor barrier. It’s basically just a big sheet of plastic. This is super important, especially on concrete, to keep moisture from messing with the wood.
Laying the Battens
Then came the battens. These are just long strips of wood that create a framework for the flooring. I spaced them out evenly, making sure they were all level. This part was a bit of a pain, I had to use shims in a few places to get everything perfectly flat. You really, really want a level base, or the floor will feel all wonky later on.
- Checked level with a super-long level.
- Shimmed where needed, it’s tedious but must be precise.
- Make sure secure to the ground.
Installing the Boards
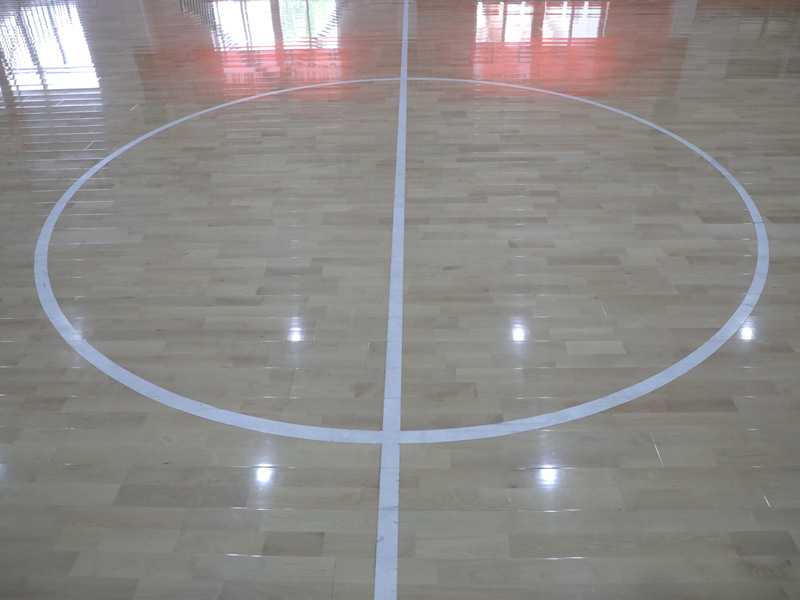
Now for the actual flooring! I started at one wall and started laying down the boards. These engineer boards have a tongue-and-groove system, so they kind of click together. It’s pretty satisfying, actually.
I used a rubber mallet to tap them into place, making sure everything was nice and tight. And I used a pull bar to get the last boards in each row snug against the wall.
I needed to cut the boards and get the right length with handsaw, because some area is too small to put the whole engineer board.
The Finishing Touches
Once all the boards were down, I installed baseboards around the edges of the room. This covers up the expansion gap (you need to leave a little space for the wood to expand and contract with temperature changes) and just makes everything look finished.
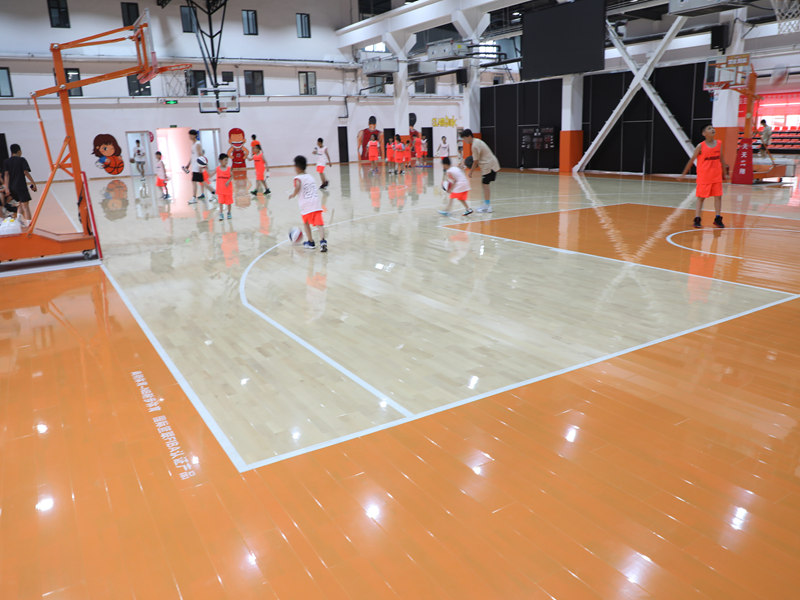
Finally, I gave the whole floor a good cleaning. There was a lot of sawdust! And that was it. My new, awesome-looking (and hopefully durable) wooden floor was ready for action.
It was a pretty big project, took me a couple of weekends, but honestly, it was totally worth it. The floor looks great, and it feels solid underfoot. Now I just need to get back to actually, you know, using the gym.


