
Okay, here’s my blog post about putting together some portable wooden flooring, based on the title “Keel Basketball Plywood Portable Wooden Flooring”:
So, I wanted to set up a little basketball practice area in my backyard. I didn’t want anything permanent, because, you know, I might want to use that space for something else later. I did some digging and found these “portable wooden flooring” options. It looked pretty cool – like putting together a giant puzzle!

Getting Started
First, I ordered the flooring. It came in these big plywood panels, and they had this interlocking system on the edges. It’s kinda like those foam puzzle mats for kids, but, like, way sturdier. And, they talked about using these “keels”.
The “keels,” as far as I understand, are the support beams, and they’re important. These are the things that would go underneath and give the floor some bounce and keep it from, you know, just lying flat on the ground and feeling weird.
Laying Down the Keels
I started by laying down the keels. I made sure to space them out evenly, My goal was to make the floor all level. I didn’t want any wonky spots!
- Checked the ground, made it somewhat level first. Rocks and big bumps? Gotta go!
- Placed first few keels, trying to get a feel for the spacing.
- Used my level, and a measuring tape.
Putting the Floor Together
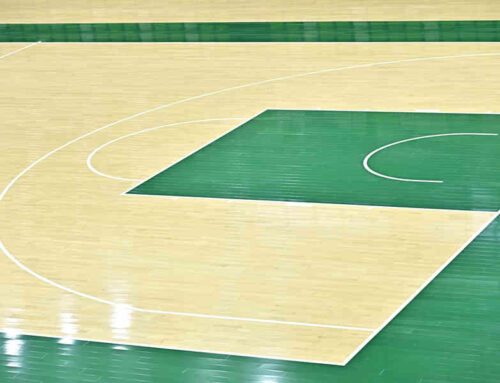
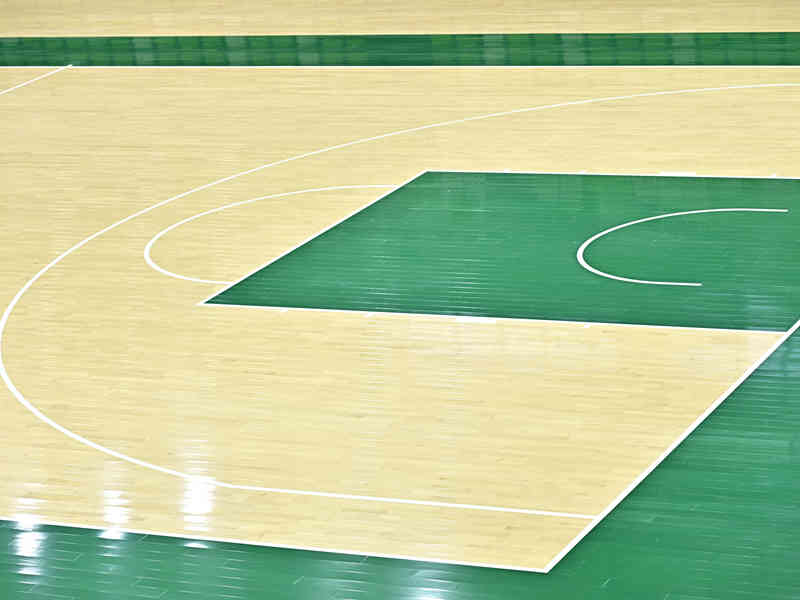
Once the keels were down, it was time for the fun part – putting the actual floor together! These plywood panels, they just clicked into each other. Honestly, it was kinda satisfying. Like, click, click, click… and boom, you’ve got a floor!
I started in one corner and worked my way across. It actually went pretty fast. The hardest part was probably just making sure all the edges were lined up perfectly. You don’t want any gaps or anything sticking up. That would be a good way to twist an ankle.
- Started in a corner, that just made sense to my brain.
- Clicked the panels together, making sure the fit was snug.
- Occasionally stepped back to make sure it looked straight.
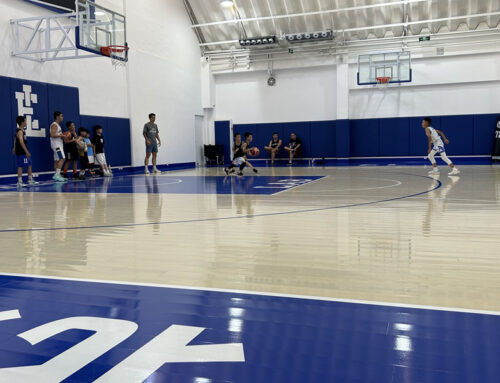
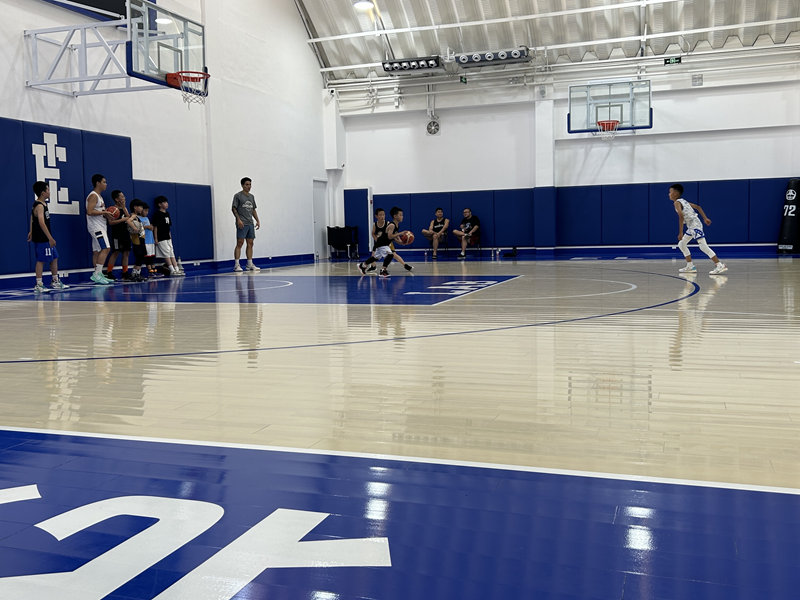
The Finished Product
And… that was pretty much it! Took me a good part of the afternoon, but it wasn’t rocket science. Now I’ve got this cool little basketball area. It feels pretty solid underfoot, and it’s got a nice little bounce to it, just like a real court. I’ve been playing around with some dribbling drills, it’s perfect!
The best part? If I ever need to move it, I can just unclick the whole thing and stack it up. Way easier than dealing with concrete or anything permanent. So, yeah, that was my weekend project. Pretty happy with how it turned out!


