
Okay, here’s my blog post about assembling a keel basketball plywood floor, written from my personal experience:
So, I decided to put down a basketball court in my backyard. It’s something I’ve wanted to do for ages, and I finally took the plunge. I went with a keel and plywood system because, you know, I wanted that real basketball court feel, the bounce, the sound, all that good stuff. I’m no pro, but I’m pretty handy, so I figured, “Why not do it myself?”
Prepping the Ground
First things first, I had to get the ground ready. This wasn’t just slapping some wood down. I cleared the area, making sure it was all nice and level. Used a shovel, a rake, the whole shebang. Got rid of any grass, rocks, and other junk. It was a workout, I’m telling you! It’s not like laying down a carpet. I had to make sure it was totally flat, or the floor would be all wonky.
Laying the Keel
Next up was the keel. These are basically the long wooden supports that run underneath the plywood. I got these pre-treated, of course, to protect them from moisture and bugs. I spaced them out evenly – super important for even support. If you don’t, you might end up with a bouncy or sagging floor in certain areas.
I used simple tools to put it, and made sure it’s stable.
The Plywood Part
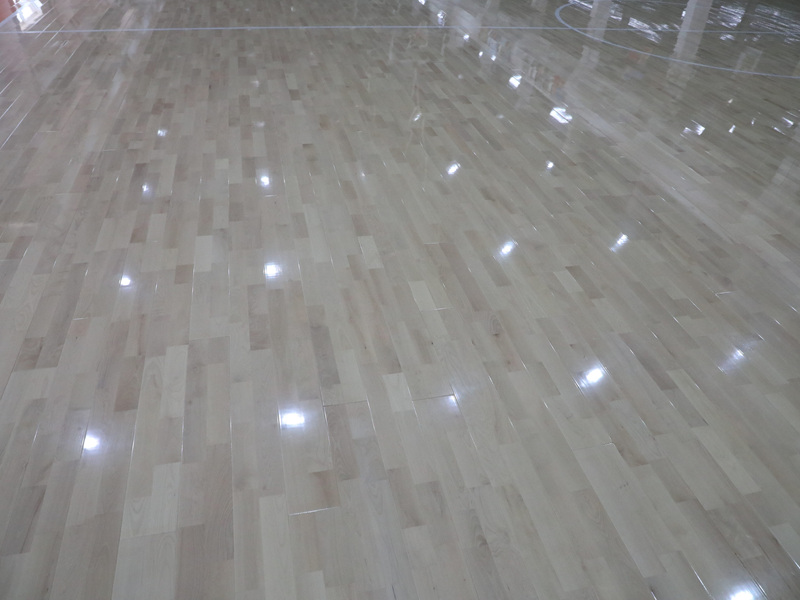
Then came the plywood. I chose a good quality, thick plywood – again, treated for outdoor use. This is the actual playing surface, so you don’t want to cheap out here. I started laying the sheets down, staggering the joints like you would with bricks. This makes the whole thing much stronger. I used a ton of screws, making sure they were countersunk so they wouldn’t stick out and trip anyone up.Make sure to put them tight!
This part took the longest. Cutting the plywood to fit around the edges was a bit of a pain, but I got there. I had to borrow a circular saw from my neighbor – best tool for the job.
Putting It All Together
- I made sure the plywood was butted up nice and tight against each other.
- No gaps!
- Then, more screws. Lots and lots of screws.
- My drill got a serious workout that day.
Finishing Touches
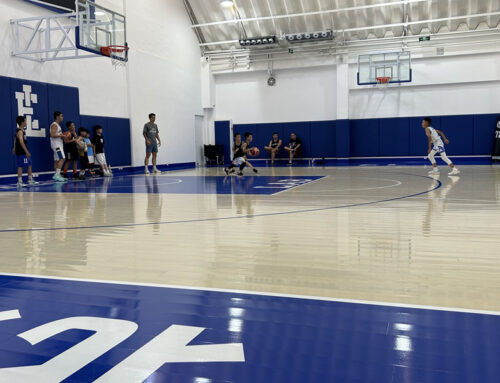
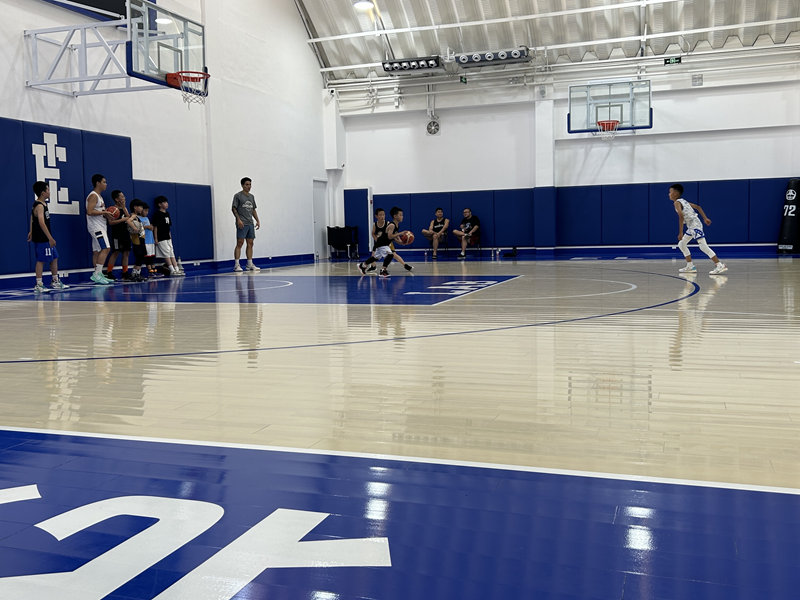
Once all the plywood was down,I can have fun with my family.
It was a lot of work, I’m not gonna lie. But seeing it all come together, and then playing that first game on it… totally worth it. It’s not perfect, I’m sure a professional could have done a better job, but it’s mine, and I built it. That’s a pretty good feeling.


