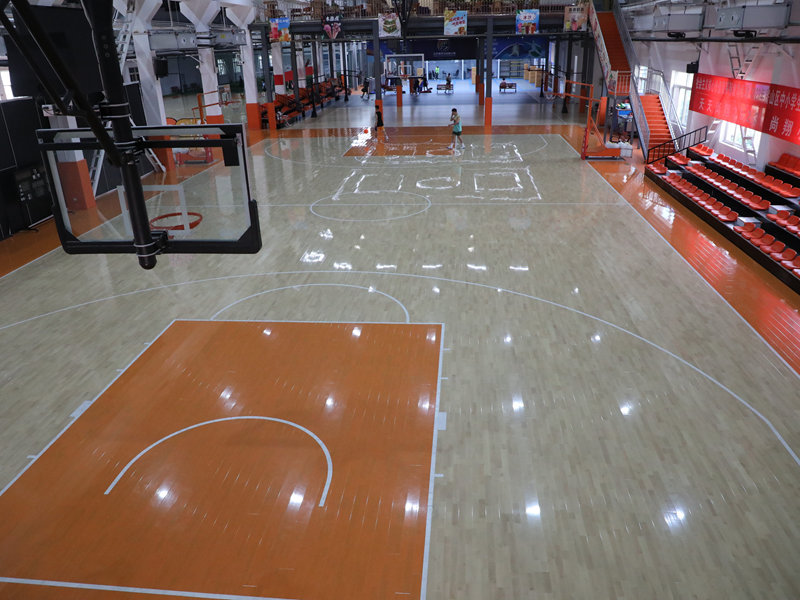
Okay, folks, let’s dive into my little weekend project: putting together some rubber volleyball court flooring over plywood. Sounds fancy, huh? It’s not as bad as it sounds, I promise!
Getting Started
First things first, I gathered my materials. I already had a bunch of plywood sheets lying around from a previous project (score!). I needed the rubber flooring, though. I opted for those interlocking tiles – seemed easier than dealing with a giant roll. I also grabbed some heavy-duty adhesive, a utility knife, a measuring tape, a straight edge, and a rubber mallet (because, you know, rubber flooring).
Prepping the Plywood
Next up, I had to make sure the plywood was ready. This meant checking for any loose screws or nails and hammering them down. I also gave the whole surface a good sweep to get rid of any dust or debris. You want a nice, clean surface for the adhesive to stick to, or you’re gonna have problems later. No fun!
Laying Out the Tiles
I started to lay out rubber tiles on top of the plywood. And, I interlocked these tiles to each other to form a whole rubber layer.
Cutting and Fitting
Of course, the tiles weren’t going to fit perfectly. That’s where the utility knife and straight edge came in handy. I measured carefully (measure twice, cut once, as they say!) and trimmed the tiles to fit along the edges and around any obstacles. This part took some patience, but it’s worth it to get a nice, clean look.
Gluing It Down
Once I was happy with the layout and the cuts, it was time to glue everything down. I worked in small sections, applying the adhesive to the back of the tiles and then pressing them firmly onto the plywood. The rubber mallet helped to make sure everything was nice and snug. I made sure to follow the instructions on the adhesive – some of them have specific drying times and stuff. You don’t want to mess that up!
Finishing Touches
I used a rubber mallet to make sure the connected rubber tiles were flat.
After all the tiles were glued down, I let everything dry completely. The adhesive instructions said 24 hours, so I followed that. Patience, young Padawan! Once it was dry, I gave the whole floor a good once-over to make sure everything was secure. And that was it!
Honestly, it wasn’t a super difficult project. Just took some time and a little bit of elbow grease. Now I’ve got a pretty sweet-looking (and functional!) rubber volleyball surface. Not bad for a weekend’s work, right?

