
Okay, here’s my blog post about assembling a keel basketball engineer board:
Alright, so I tackled a pretty big project this weekend – putting together a keel basketball engineer board floor. Sounds fancy, right? It’s basically just a type of wooden flooring, but with extra steps. I’ve done some basic flooring before, but this was a whole different beast.
Getting Started
First things first, I gathered all my materials. I had these long planks of engineered wood, which are like plywood’s tougher cousin, and a bunch of these metal “keels” that look like mini I-beams. And of course, a ton of screws. Don’t forget the screws!
I Unpacked and Checked my package.
The Keel Deal
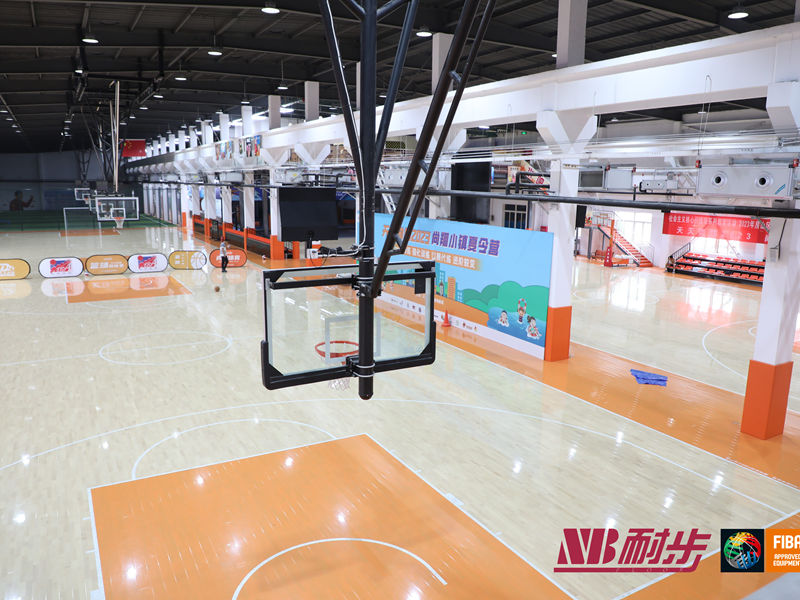
The tricky part was getting the keels right. These things are the support structure for the floor, so they gotta be level and spaced correctly. I used a laser level (best tool ever!) to make sure everything was lined up perfectly. I laid out the keels according to the instructions – which, thankfully, were pretty clear, and secured them to the subfloor with screws. Took a while, but I double-checked everything because you really don’t want a bouncy basketball court.
- Lay out the keel.
- Check that everything is ok.
- Fixed with screws.
Plank Time
Once the keels were in place, it was time to start laying down the planks. These planks had a tongue-and-groove system, so they kinda clicked together. But, because the keels were there, I couldn’t just slide them in. I had to carefully position each plank above the keel and then lower it down, making sure the tongue fit into the groove of the previous plank. Then, I screwed the plank into the keel. Repeat, repeat, repeat.
The Long Haul
Honestly, this part was a bit of a grind. It was a lot of bending, lifting, and screwing. My back was definitely feeling it by the end of the day. I took breaks, drank plenty of water, and blasted some music to keep me going. There’s something satisfying about seeing the floor slowly take shape, though. Makes the sore muscles worth it.
Finishing Touches
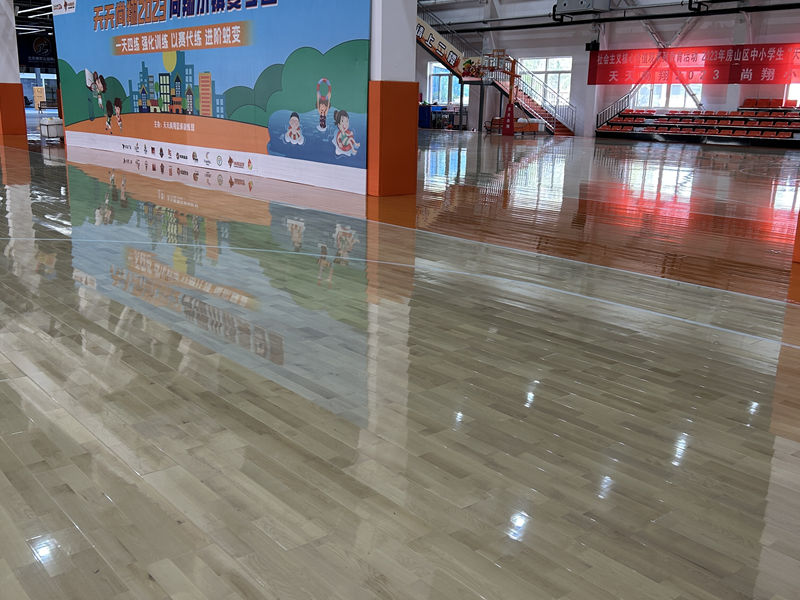
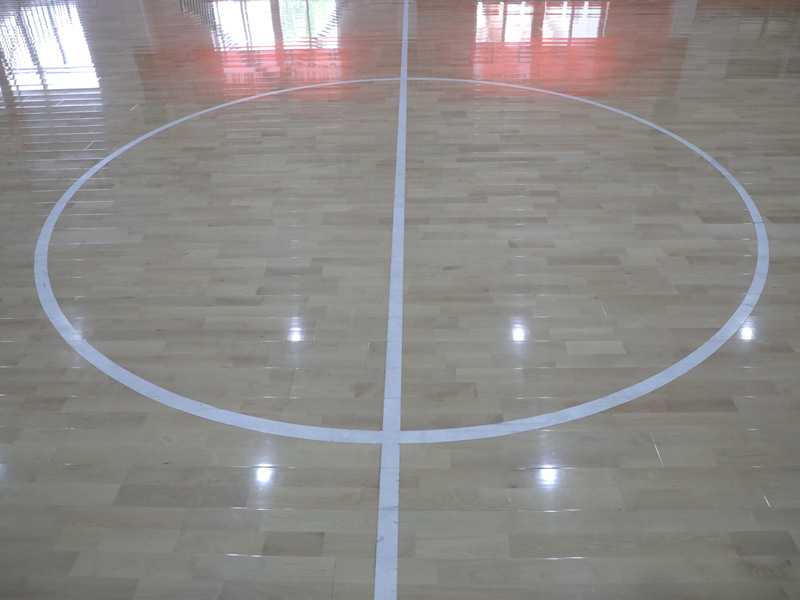
After all the planks were down, I installed the baseboards around the edges to give it a clean look. I also filled in any small gaps with wood filler and sanded it down smooth. The final step was applying a sealant to protect the wood. And that’s all!
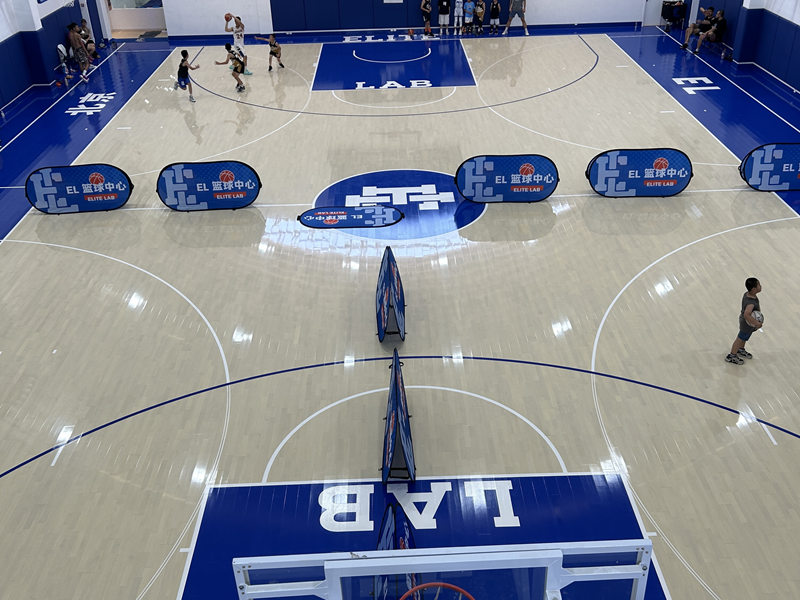
It wasn’t easy, and it took up my entire weekend, but I’m pretty proud of how it turned out. I now have a solid, level, and (hopefully) durable basketball floor. Time to shoot some hoops!


