
Okay, here’s my blog post about installing batten basketball birch wooden flooring:
Alright, guys, so I finally tackled that project I’ve been putting off forever – putting in a new floor in my makeshift home gym/basketball court area. I went with this batten basketball birch wooden flooring, and let me tell you, it was a process. But, totally worth it!
Getting Started
First things first, I cleared out the entire space. This meant moving all the weights, the bench, the old, sad-looking carpet… everything. It was a workout in itself! Then, I spent a good chunk of time cleaning the concrete subfloor. I mean, really cleaning it. I swept, vacuumed, and even scrubbed it down to make sure there wasn’t any dust or debris left. This is super important, you don’t want anything messing with the new floor.
The Batten System
This floor uses a batten system, which basically means a framework of wooden strips. So, my next step was laying down these battens. I used some construction adhesive and screws to secure them to the concrete, making sure they were all level and evenly spaced. It takes some time and be sure to be patient. This part was actually kinda tricky, I had to keep double-checking with my level to make sure everything was perfectly straight. It takes some time. Getting this right is crucial, because any unevenness here will show up in the final floor.
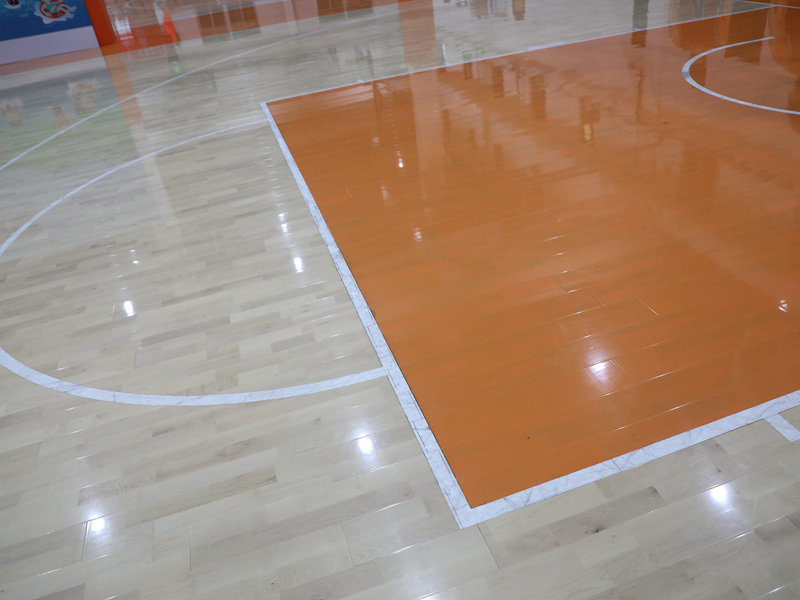
Laying the Birch
Once the batten system was in place, it was time for the fun part – laying down the actual birch flooring. These boards were tongue and groove, so they fit together pretty easily. I started along one wall, tapping the boards together with a rubber mallet. I used a tapping block too, to avoid damaging the edges of the boards.
I staggered the joints, you know, to make it look more natural and for better stability. And, I made sure to leave a small gap around the perimeter of the room for expansion and contraction – wood moves with changes in humidity, so you gotta give it some room to breathe.
Finishing Touches
After all the boards were down, I installed the baseboards. This covered up that expansion gap and gave everything a nice, finished look. Finally, I applied a couple of coats of polyurethane sealant. This is important to protect the wood from scratches, spills, and general wear and tear. It’s a basketball court, after all! It needs to be tough!
- Clear the space.
- Clean the subfloor.
- Install the battens.
- Lay the birch flooring.
- Install baseboards.
- Apply sealant.
It took a couple of weekends, and my back definitely felt it, but honestly, looking at the finished product, I’m so stoked. It’s a huge upgrade, and now I can actually enjoy shooting some hoops without worrying about tripping over ripped carpet. Plus, it just looks awesome! Success!


